Guide to the Blaustein Castle Expansion
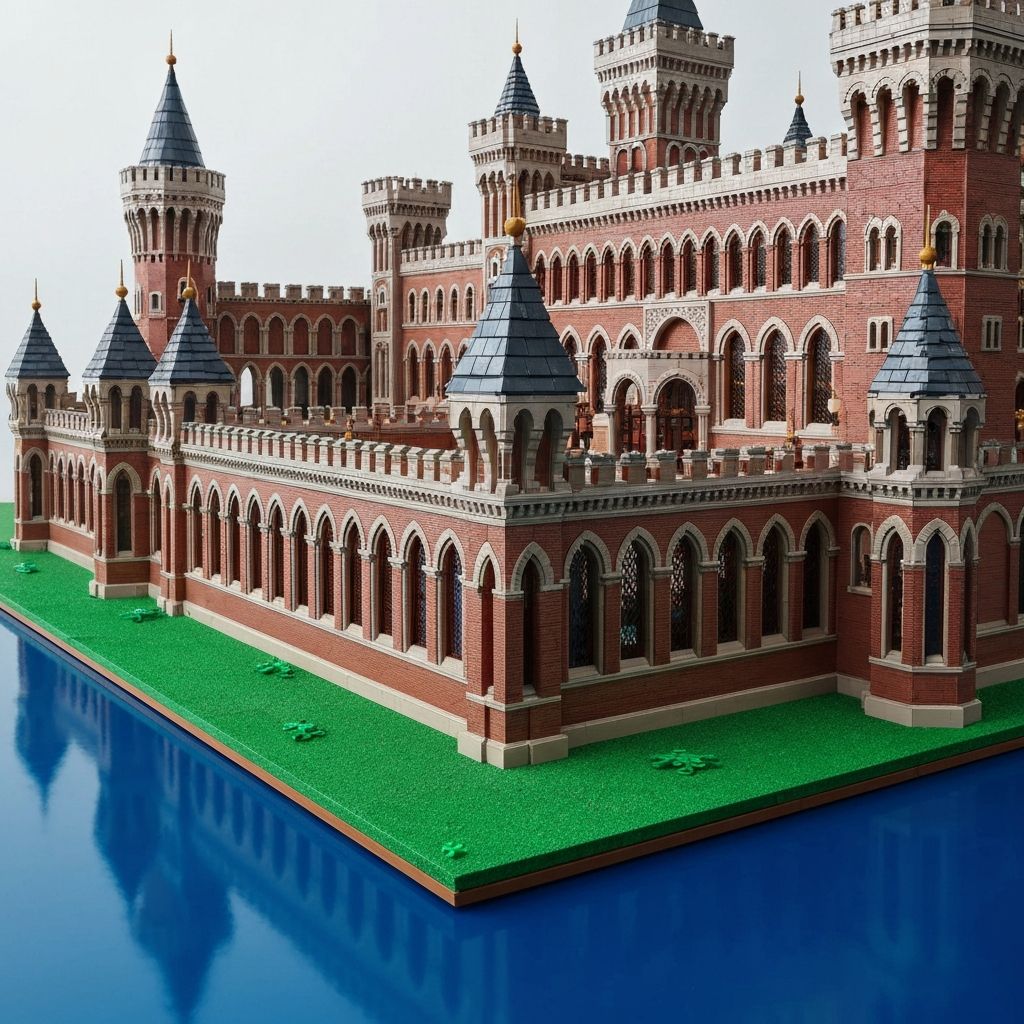
The Blaustein Castle is already an impressive display model — but the real satisfaction comes from expanding it. A Blaustein Castle expansion adds new towers, outer walls, interior rooms, and landscaped grounds, transforming a standalone set into a full fortress diorama. This guide walks you through every phase: planning your layout, selecting the right premium alternative bricks, assembling structurally sound walls and towers, decorating interior rooms, and displaying the finished model safely.
Official bricks carry a significant price premium at large quantities. Premium alternative ABS bricks manufactured to ±0.01 mm stud tolerance connect seamlessly with your existing castle pieces, maintaining identical clutch strength and color consistency — at 40–70% less cost. All bricks available at MOREBYBOURN are certified to EN71 and ASTM F963 safety standards and ship from our US warehouse within 3–5 business days.
Tools You Need
Brick Separator
Removes tight plates and tiles without damaging bricks. Use the wedge side for plates and the axle side for Technic pins.
Sorting Trays
Hold 1x1 plates, cheese slopes, and small accessories by type — not by color. Labeling each tray eliminates search time.
Rubber Mallet
Closes stubborn large plate connections. Always place a cloth between the mallet and bricks to protect surfaces.
Tweezers
Essential for placing stickers straight and positioning small details in tight interior spaces.
Plan Your Layout
Before buying a single brick, draw a floor plan. Measure your display table or shelf and confirm it can support the total model weight — large castle expansions routinely exceed 10–15 kg. Map new tower positions, outer wall runs, and courtyard zones on paper first.
A standard expansion layout requires at least two additional 32×32 baseplates. Connect baseplates along their edges using 2×4 plates underneath to eliminate flex at the seams. Sort purchased bricks into labeled plastic containers by part type — a 1×1 gray plate found in a type-sorted tray takes two seconds; found in a color-sorted bin, it takes two minutes.
Layout Checklist
- Measure display shelf: minimum 20 kg capacity
- Map tower and wall positions on graph paper
- Count required studs and calculate brick quantities
- Order gray masonry bricks, dark gray tiles, green base plates, and brown roof slopes
- Prepare labeled sorting containers before delivery arrives
Evaluate Brick Quality
Large models demand consistent, high-clutch bricks. Weak connections cause walls to bow under their own weight over time. When sourcing alternative bricks for your castle expansion project, verify three things: clutch power, color consistency, and safety certification.
Clutch Power
±0.01 mm stud tolerance ensures walls stay vertical under load. Press two plates together and attempt to slide them apart — premium bricks resist lateral movement completely.
Color Consistency
Castle masonry requires uniform gray tones across hundreds of bricks. Inspect a sample batch under natural light to confirm no color drift between production lots.
Safety Certification
EN71 and ASTM F963 certification confirms BPA-free, phthalate-free food-contact-grade ABS resin. All MOREBYBOURN bricks carry both certifications.
Assembly Tips for Complex Architecture
Lay the Foundation First
Connect new baseplates to the original castle using plates underneath. A secure foundation prevents the entire structure from warping under the weight of upper floors and towers.
Stagger Wall Seams
Never stack brick seams directly above each other. Staggered seams create structurally strong walls. Mix light gray and dark gray masonry bricks to create a realistic aged stone appearance.
Reinforce Towers with a Technic Core
Build a Technic brick skeleton inside every tower over 20 bricks tall. Use Technic pins to connect the core to the outer masonry shell. Towers without internal support bow under their own weight.
Build Roofs with Hinged Frames
Construct roof frames using plates and hinges before attaching slope bricks. This allows you to adjust the pitch precisely. Use dark brown and dark red slopes and add chimney details with round bricks.
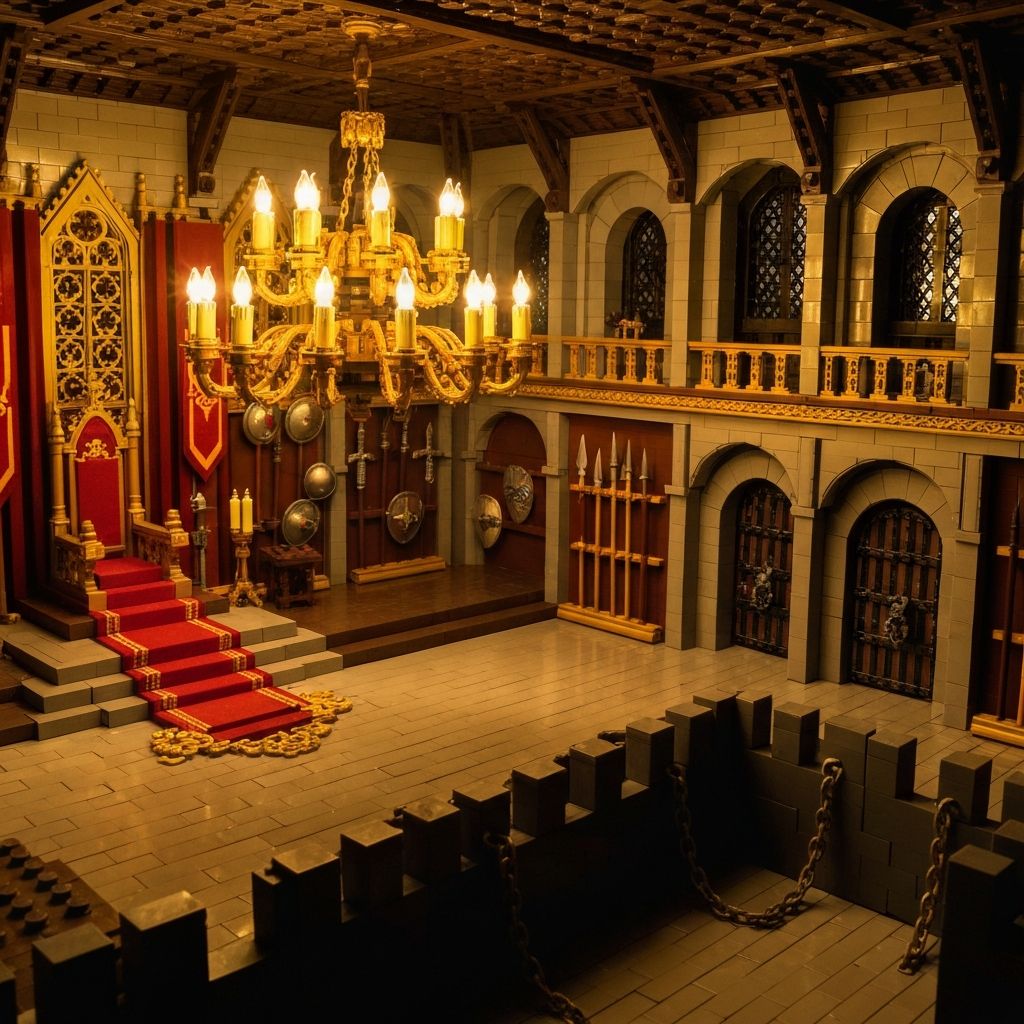
Interior rooms — throne room, armory, dungeon, and kitchen all benefit from LED lighting kits routed through brick seams
Add Interior Details
Empty rooms reduce the visual impact of a large castle. Each interior space deserves intentional detailing. The four most impactful rooms to furnish are the throne room, armory, dungeon, and kitchen.
Throne Room
Build a large ornate chair, lay red tiles as carpet, add gold accent details, and hang a chandelier with transparent yellow candle parts from the ceiling.
Armory
Mount weapon racks on walls using clips. Add swords, spears, shields, and crossbows. Align weapons neatly in rows for a clean display look.
Dungeon
Use black iron doors and gray chain pieces. A skeleton minifigure adds character. Dark gray brick flooring creates the right atmosphere.
Kitchen
Build wooden tables with brown tiles and cylinder legs. Add round tile plates and small brick food items. Place a fireplace with orange transparent flame pieces.
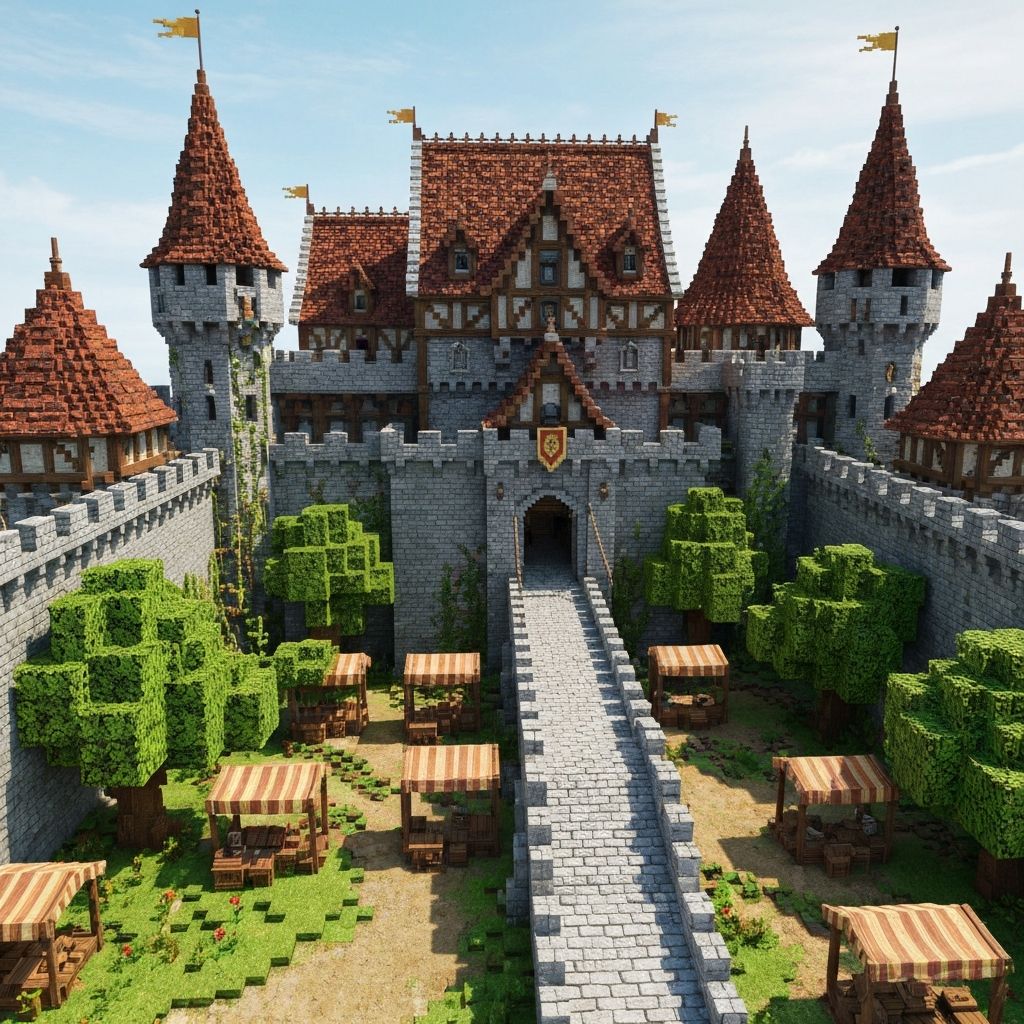
Castle grounds with layered blue moat tiles, drawbridge, market stalls, and landscaped tree perimeter
Customize Your Castle Grounds
The grounds transform a building model into a diorama. Layer blue, light blue, and transparent blue tiles for the moat — the depth variation creates realistic water. Add a drawbridge with chain pieces and a winch mechanism at the gatehouse.
Build pine and oak trees along the perimeter using brown cylinder trunks and stacked leaf pieces. Create a stone courtyard with alternating dark gray and light gray tiles. Add a market with small tents, merchant stalls, barrels, and minifigures to bring the scene to life.
For the most dramatic effect, add an LED lighting kit. Route 3V micro-LED wires between brick layers from the power source — a USB power bank hidden in the dungeon works perfectly. Transparent yellow candle parts in the chandelier and wall torches deliver a warm medieval glow that transforms the model at night.
Do and Do Not
Do
- Sort bricks by part type, not color — finding a 1×1 gray plate in a type-sorted tray is instant
- Stagger all wall seams for maximum structural integrity
- Build a Technic skeleton inside every tower over 20 bricks tall
- Use UV-blocking curtains or an acrylic case to protect ABS from yellowing
Do Not
- Do not lift a large castle by towers — always lift from the baseplate bottom with two people
- Do not use wet cloths for cleaning — water damages stickers and can loosen connections
- Do not skip the foundation plate connection step — seams at baseplate level cause structural failure later
- Do not stack brick seams directly above each other — this creates weak points in walls
Display and Maintenance Advice
Safe Transport
Always lift from the baseplate bottom using two people. Never lift by towers or wall sections — the stress fractures connections and collapses interior details.
UV Protection
Place an acrylic display case over the finished model. UV rays from windows yellow gray ABS bricks over months. UV-blocking curtains provide additional protection.
Monthly Maintenance
Dust with a soft makeup brush or canned air monthly. Press roof sections and upper wall plates down to compensate for thermal expansion. Never use wet cloths near stickers.
Ready to Start Your Castle Expansion?
Browse premium ABS masonry bricks, baseplates, and slope sets at MOREBYBOURN — all certified, LEGO-compatible, and shipped from our US warehouse.
Shop Building Block Sets