How to Choose, Build, and Get the Most Out of Village Tree House Sets, Servo Builds, and Family Building Tables
From sandbox-inspired builds to precision servo control and dedicated brick stations — here's what you actually need to know before buying, and how to build smarter once you do.
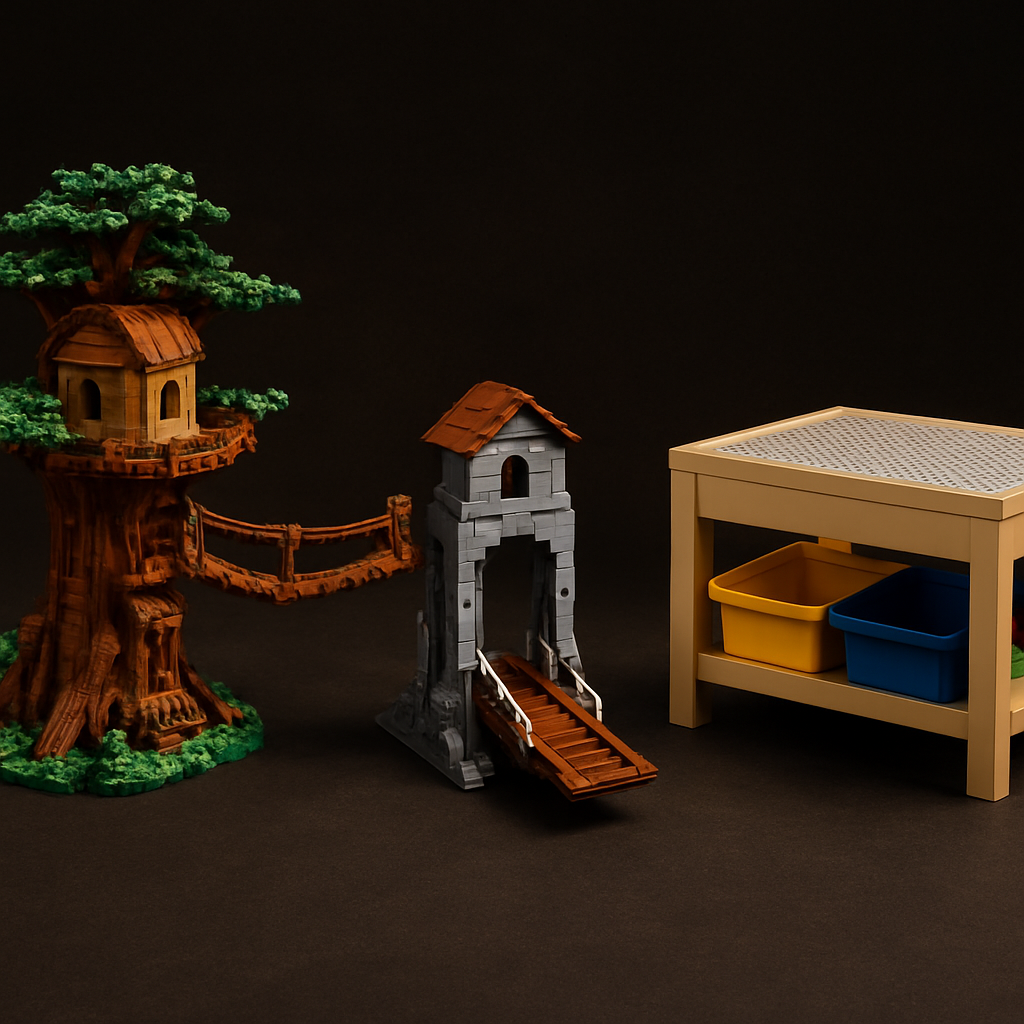
Part 1: Village Tree House Sets — What Separates a Good Build From a Frustrating One
A growing segment of serious hobbyists gravitates toward organic, narrative-driven builds: villages, forest hideouts, canopy platforms, interconnected tree structures. The minecraft lego compatible village tree house category sits squarely at this intersection of sandbox creativity and structured building.
These sets borrow the architectural logic of survival and adventure gameplay — elevated platforms, rope bridges, multi-level structures, natural material simulation — and translate them into physical bricks. Done well, they are among the most visually rewarding builds you can display, and among the most engaging for children who want a build that tells a story.
Five Things to Check Before Buying a Village Tree House Set
Foliage piece count and variety
Look for five or more distinct foliage element types. A set that simulates a full tree canopy with only two or three part types will look flat.
Platform stability engineering
For permanent display, stud-and-plate connections hold better under their own weight than clip-and-bar systems, which loosen over time.
Texture simulation for bark and stone
Look for log-textured cylindrical bricks, mixed 1×1 round tiles, and inverted slopes to simulate root structures convincingly.
Interior build detail
Quality village tree house sets include interior furnishings — platforms with built-in tables, chest pieces, and ladders with functioning clip connections.
Scalability with other village sets
Check that the set uses a consistent scale with other sets from the same brand to avoid layouts where proportions clash.
Step-by-Step: How to Build a Village Tree House Set Well
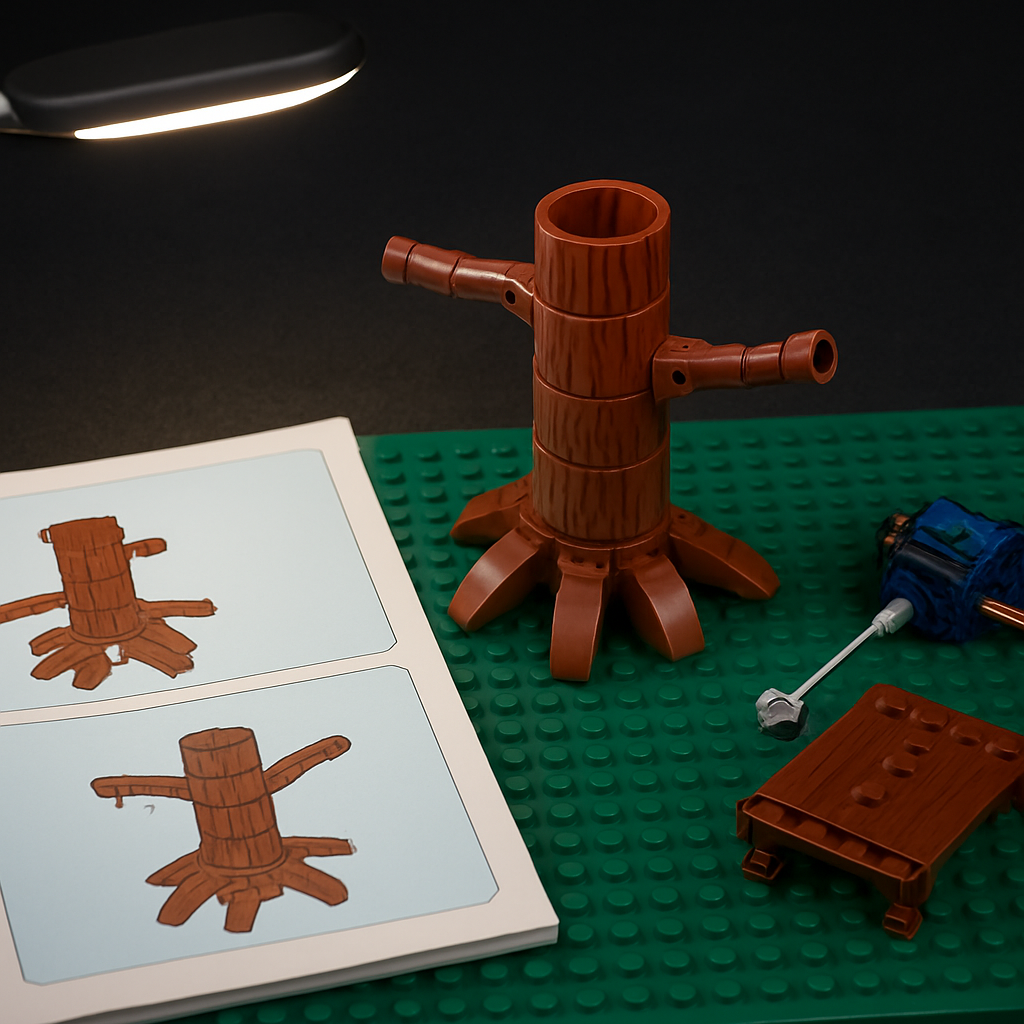
- 1
Build terrain and base before structure.
Start with the ground plate and any rock, root, or terrain elements. These anchor the tree's vertical elements and define the layout's footprint. Everything else attaches to this foundation.
- 2
Build the trunk in vertical modules.
Build the trunk in 6–8 stud height increments, checking for vertical alignment at each stage. An off-plumb trunk throws every subsequent platform connection out of alignment.
- 3
Attach branch structures before platforms.
Branches define where platforms will sit and at what angle. Build all branch connections before attaching platform surfaces — this lets you adjust branch angle while you still have full access.
- 4
Layer the canopy from inside out.
Start with the inner canopy elements closest to the trunk and work outward. Building outward first makes inner placement nearly impossible without disassembly.
- 5
Add accessories and minifigures last.
Ladders, torches, chests, and minifigures go in after the structural build is complete. These details make the build feel inhabited — but interfere with structural work if placed mid-build.
You will find village tree house builds and adventure-style modular sets built with this kind of structural logic at Morebybourn, where compatible building sets are designed for display quality and extended play value. See also our guide to the best building block sets for adults.
Part 2: LEGO-Compatible Servo Mechanisms — Precision Control for Functional Builds
A lego compatible servo is not simply a motor. A standard motor spins continuously. A servo moves to a specific angular position and holds it. That distinction matters enormously for drawbridges, rotating watchtower platforms, and animated gates — all of which a continuous motor would over-rotate without complex mechanical limiting.
Servo Specifications That Matter
Torque rating
For LEGO-compatible scale builds, 2–4 kg·cm handles most mechanisms. For weighted platforms or multiple attached elements, use 6 kg·cm to avoid torque dropout under load.
Operating angle range
Most hobby servos operate through 180 degrees, but the usable range in a LEGO-compatible build is typically 90–120 degrees. Confirm whether your control system can limit travel range in software.
Connector compatibility
LEGO-compatible control hubs use a proprietary connector system. Confirm your servo's connector is compatible with your control hub before buying — this is the single most common frustration in servo integration.
Speed vs. precision
Faster servos are less precise at low speeds. For animated display models, a slower servo (0.15–0.20s per 60 degrees) gives smoother, more convincing motion than a fast servo jerking between positions.
Integrating a Servo Into a Village Tree House Build
Drawbridge — the natural first integration
A drawbridge mechanism pairs well with a servo because the load is consistent, the travel range is fixed (0° closed to 90° open), and the mechanical linkage is simple. Build as a standard hinged plate connection, then mount the servo in the gatehouse tower with a push-rod linkage to the bridge deck.
Rotating watchtower platforms
Mount the servo at the base of the tower, connect it to a rotating top plate through a center-pin mechanism. Use the 90-degree position increments that most control systems support natively.
Cable routing in tree builds
Tree architecture has no clean interior channel. Route servo cables through the hollow interior of tree trunk sections, using small bracket-mounted cable clips to prevent the cable from pulling taut against branch elements.
Test before adding foliage
Complete all servo installation, cable routing, and mechanism testing before any foliage elements go on. Removing canopy sections for a wiring fix is time-consuming and risks damage to foliage clip connections.
Part 3: Family Building Tables — Making the KidKraft Building Bricks Table LEGO-Compatible Format Work
The environment shapes the behavior. A child who builds on the floor abandons the project when the floor is needed. A child who builds on a dedicated, organized table with accessible piece storage will return to the same project across days and weeks. The kidkraft building bricks table lego compatible format addresses exactly this with a stud-covered build surface, compartmentalized storage, and height adjustment.
Buying Criteria That Matter Most
Surface compatibility — the non-negotiable
The building plate must accept standard 8mm pitch studs. Test-fit a small standard brick — it should hold firmly without excessive pressure and release cleanly without dragging.
Storage depth and compartment size
The best configurations include a mix of deeper bins for bulk pieces and multiple shallow divided trays for specialty elements. Avoid single-configuration bins.
Height adjustment mechanism durability
Tool-free adjustment with a confirmed range of at least 8–10 inches covers the growth span from age 4 to age 10 without a replacement purchase.
Frame rigidity
Metal-framed or solid-wood-legged tables outperform molded-plastic multi-piece leg assemblies for long-term stability under active play.
Setting Up the Optimal Family Build Station
- 1
Establish permanent piece categories.
Sort pieces into permanent home locations before the first build begins — structural bricks by color, specialty pieces in labeled sub-sections, and a dedicated current-build zone on the surface.
- 2
Install a build reference station.
Add a tablet stand or clipboard holder at the table's rear edge. Instruction pages viewed at table height are faster to reference than instructions flat on the table competing for space with the build.
- 3
Separate current build from piece storage.
Designate one side as build space and the other as staging. Staging holds sorted loose pieces relevant to the current build step, not the full collection.
- 4
Introduce the build-and-return habit early.
Five minutes of return sorting at the end of each session saves 20 minutes of excavation at the start of the next. Build this habit before bad habits form.
- 5
Schedule periodic full-collection audits.
Every 4–6 weeks, pull all pieces from storage and audit for damaged elements, missing pieces, and pieces that have migrated into the wrong category.
Compatibility and Safety: Mixing Village Sets, Servo Systems, and Table Builds
Safe to Mix Freely
- +Base plates and structural bricks across compatible brands
- +Terrain and platform pieces with the same scale minifigure accessories
- +Foliage elements from different manufacturers at the same stud pitch
Keep Brand-Consistent
- —All mechanical and servo components within a single mechanism
- —Control hub and servo connectors — verify compatibility before purchase
- —Village sets from the same brand to maintain consistent minifigure scale
When a lego compatible servo is installed in a build accessible to young children, add a manual override or physical lock so children cannot activate the mechanism unexpectedly. In the US, powered components must comply with ASTM F963; in Europe, EN 62115 alongside the CE mark.
Maintenance: Keeping Village Builds, Servo Systems, and Table Setups Running
Foliage elements
Check clip connections on canopy elements every 2–3 months. Replace any clip element that no longer holds firm — loose foliage shifts over time and distorts the canopy shape.
Servo calibration
Every 6 months, run a calibration check — command the servo to its zero position and verify alignment with a reference mark. Recalibrate in software if drift exceeds 5 degrees.
Table surface cleaning
Clean stud plates with a damp microfiber cloth and mild soap monthly. Remove all pieces first. Avoid abrasive cleaners — they scratch stud surfaces and reduce clutch quality.
Piece washing
Warm water, mild dish soap, hand wash only, air dry. Do not immerse printed tile pieces in water — wipe printed pieces with a damp cloth instead.
Ready to Order? We Ship Worldwide via WhatsApp
Village tree house sets, motorized builds, and compatible accessories — all carefully inspected and in like-new condition.
Order via WhatsAppFrequently Asked Questions
How complex are Minecraft-style LEGO-compatible village tree house sets? Are they appropriate for kids to build independently?▾
Most quality minecraft lego compatible village tree house sets are rated 10 and up for independent building, due to organic geometry and higher specialist piece counts. Children aged 7–9 build these well with adult guidance. The multi-level structure and story-driven design make these sets especially engaging for kids who love sandbox and adventure themes.
What's the difference between a servo and a standard motor in a LEGO-compatible build, and which should I buy?▾
A standard motor spins continuously; a lego compatible servo moves to a specific angular position and holds it. If your mechanism needs positional accuracy — a drawbridge that stays at 45 degrees, a gate that opens to a precise angle — a servo is the right choice. For simple continuous rotation like a wheel or fan, a standard motor is sufficient.
How do I know if a KidKraft building bricks table is genuinely LEGO-compatible?▾
Check the stud pitch spec — it should be 8mm center-to-center. Test-fit a few standard bricks before fully assembling the table. The clutch should feel firm but not require excessive force to press or release. Some kidkraft building bricks table lego compatible surfaces vary slightly in clutch strength depending on production batch — a test fit eliminates doubt.
When should I install a servo in a village tree house build?▾
Complete all servo installation, cable routing, and mechanism testing before any foliage elements go on. Canopy elements cover most of the upper structure and restrict access to platform connections. Removing canopy sections for a wiring fix risks damage to foliage clip connections.
What torque rating do I need for a servo in a LEGO-compatible build?▾
For standard LEGO-compatible scale builds, 2–4 kg·cm of torque handles most mechanisms. If your mechanism carries significant mass — a weighted platform or multiple attached elements — use a 6 kg·cm servo to avoid torque dropout under load.