How to Build with Reobrix: A Practical Guide to Windmills, Modular Buildings, and Technic Crane Models
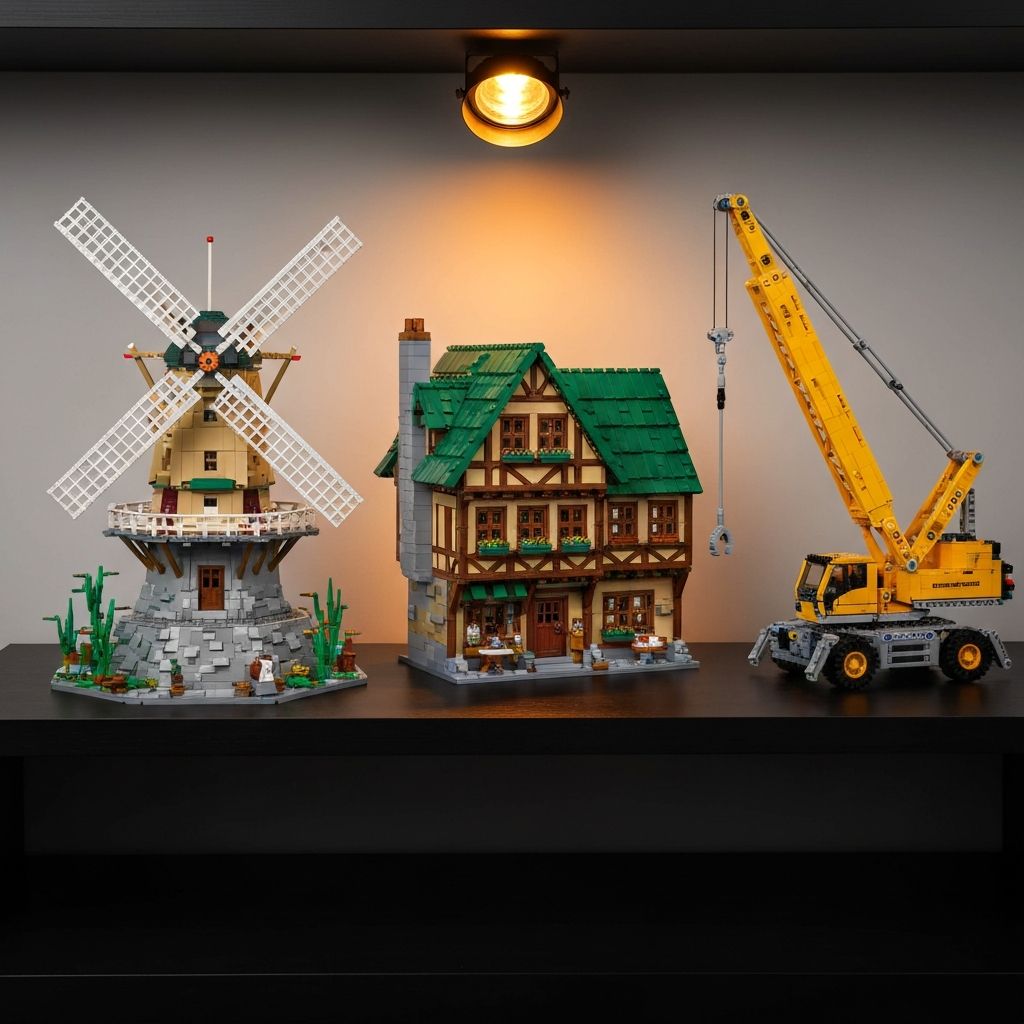
If you enjoy detailed builds, display-ready models, and hands-on problem solving, Reobrix sets offer a solid way to spend a few focused hours or a full weekend. Some builders come for the architecture. Others want the mechanical challenge. Many want both.
This guide shows you how to build with plastic model kits in a way that is cleaner, faster, and more satisfying. The main focus is on Reobrix windmills modular buildings and Technic crane building blocks, because these two types ask for different skills. Windmills and modular structures test your alignment, planning, and finishing. Crane builds test your patience, gear placement, and moving functions.
Use this article as a practical reference, not just a basic overview. For current sets, layout ideas, and more build options, you can browse the Morebybourn collection.
Why Reobrix Builds Feel Different
Many builders treat all brick sets the same. That is the first mistake. A windmill modular build and a crane build ask for entirely different mindsets. Your process should change based on the model type.
Windmill & Modular Builds
- Clean wall alignment
- Stable floor stacking
- Neat window and trim placement
- Balanced exterior detail
- Display value from all sides
Technic Crane Builds
- Frame rigidity
- Gear connection accuracy
- Axle direction awareness
- Boom balance
- Movement testing during assembly
Before You Start: Set Up Your Build Area
A good build starts before the first brick clicks into place. This matters even more with plastic model kits that include many small pieces, repeated colors, and moving elements. Use a flat table with strong lighting and follow a left-to-right workflow: unopened bags on the left, current step pieces in the center, finished sub-assemblies on the right.
Flat table with strong lighting
Small trays for sorting parts
Soft cloth or mat to stop parts bouncing
Instruction manual or digital guide
Brick separator if included
Optional tweezers for tiny parts
Sorting tip for Technic crane building blocks
Keep pins, axles, connectors, and gears in separate trays before you begin. That one move alone can save significant time and prevent wrong-axle errors that only appear when you test movement later.
How to Read the Instructions the Smart Way
Many build errors happen because people rush into step one. A better method is to preview the structure before you begin. On the first pass, identify the base structure, repeating sections, internal support points, and moving mechanisms. On the second pass, flag risk points.
Similar-looking pieces in different lengths
Compare under direct light before committing
Mirrored sub-assemblies
Build both sides together to catch mismatches early
Hidden internal pins
Mark these in the manual before you reach that step
Gear stacks
Count teeth and verify size before inserting
Sections locked in by outer walls
Critical for Reobrix windmills — a hidden offset plate can misalign the roof
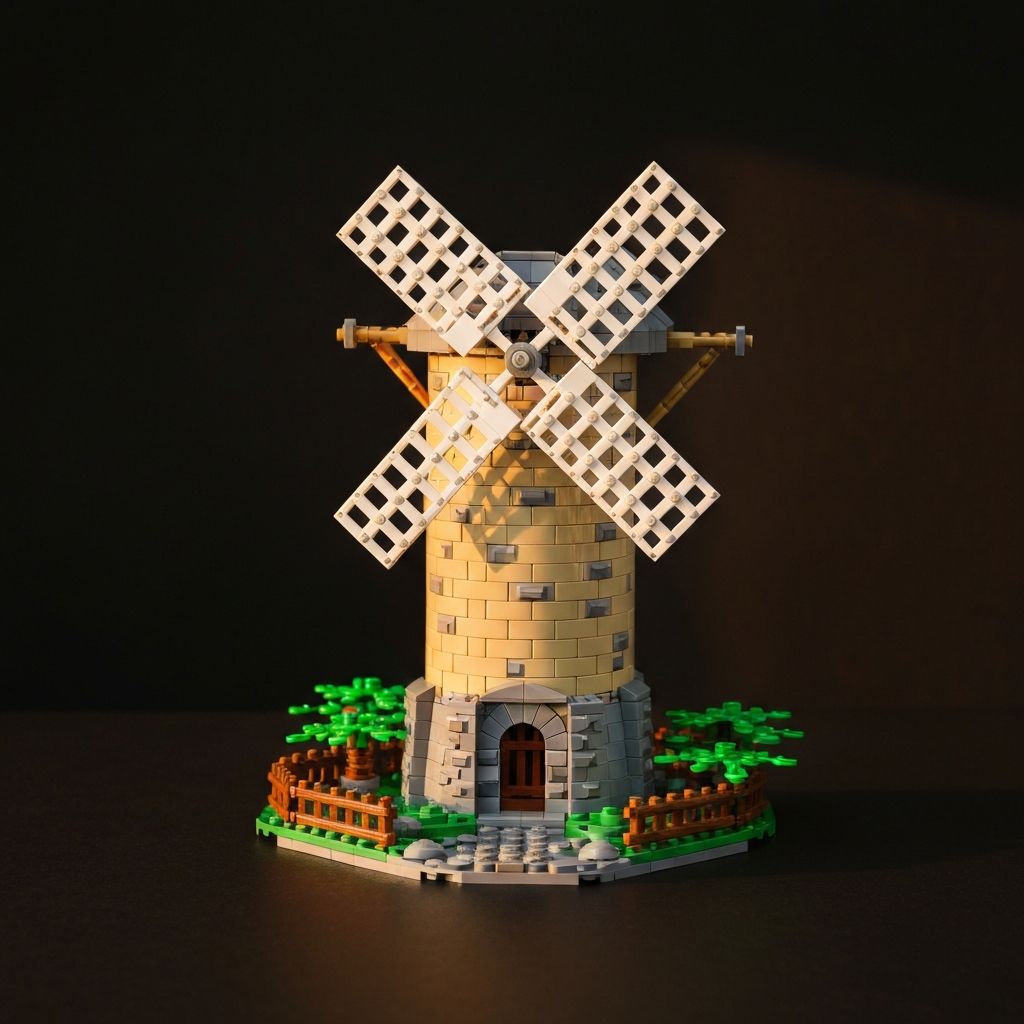
How to Build Reobrix Windmills and Modular Buildings
Architecture builds reward steady, layered progress. Follow these five steps for clean results with Reobrix windmills modular buildings.
Build the base like it matters
The base decides whether your whole structure stays square. Press down each section on a flat surface, check corners after every few steps, and make sure long plates are fully locked. A modular model should sit flat with no rocking.
Work in layers, not in a rush
Build each floor as a complete unit: structural frame, interior supports, wall closure, windows and trim, floor connection, then roof. This keeps the build logical and reduces backtracking.
Watch color transitions carefully
Tan, dark tan, brown, grey, and muted accent colors can look similar under warm light. Before locking in a long wall strip, compare with the manual and verify symmetry.
Build the windmill mechanism separately
Treat the sail or blade assembly as a precision sub-build. Verify the center axle is fully seated, blade lengths are equal, and all arms point at the same angle. Test rotation before final installation.
Finish exterior details last
Lanterns, railings, signs, and thin trim pieces pop off easily if installed too early. Leave delicate exterior parts until all floors are stacked, the roof is secured, and the model has passed stability checks.
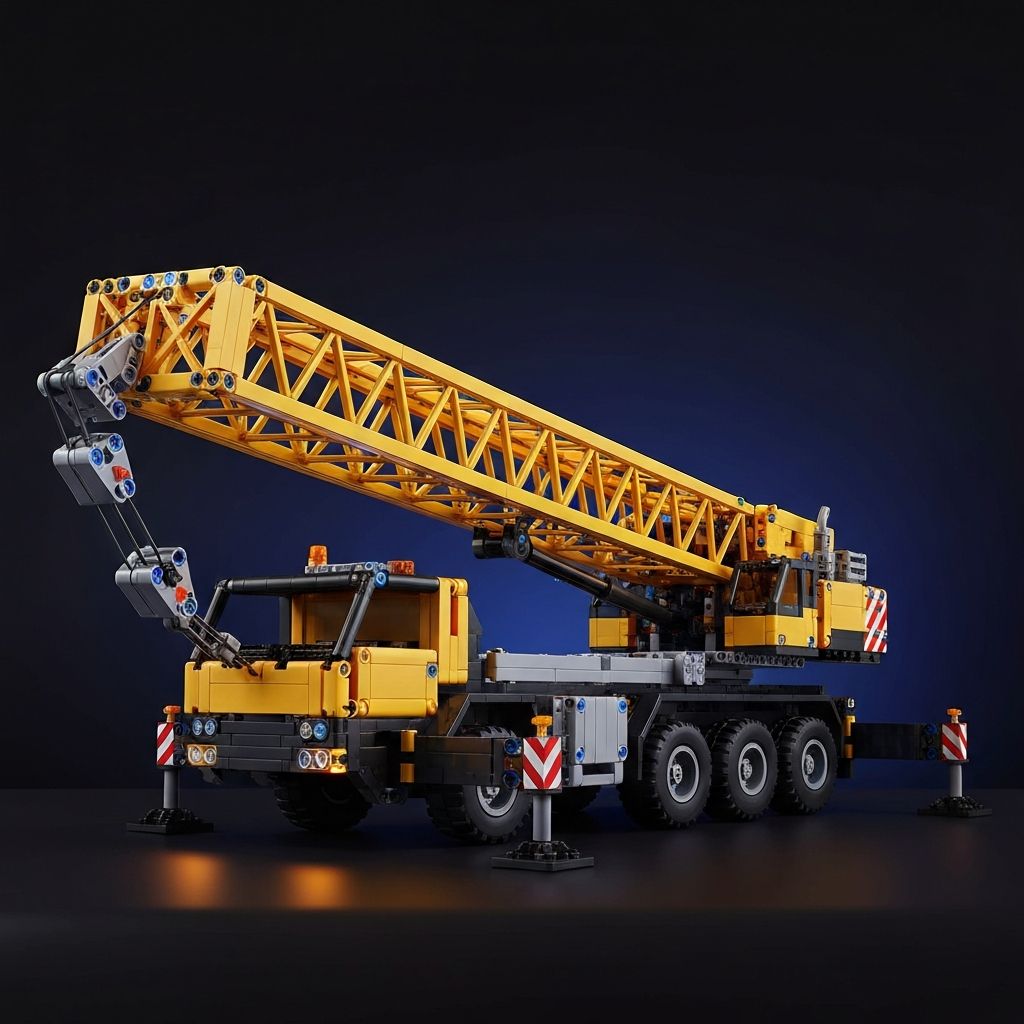
How to Build Technic Crane Building Blocks
Technic crane building blocks are less forgiving than modular buildings because one small assembly mistake can stop a whole mechanism from working. Switch from facade work to engineering logic.
Separate all pins, axles, and gears before you begin
Sort by black friction pins, blue pins, long and short axles, gears by size, and liftarms by length. Many crane problems start when builders use the wrong axle length.
Build the chassis as a rigid frame
Check that left and right sides match exactly, cross-bracing is fully inserted, all axles spin freely, and no connector is half-pressed. Push firmly but not blindly.
Test every moving section early
After each function module: turn the gear, rotate the axle, raise the boom slightly. Build, test, continue. This is the best habit for Technic crane building blocks.
Follow axle direction exactly
After placing an axle, compare both visible ends. Check if one side sticks out farther than shown and correct it before locking surrounding parts.
Keep gear trains clean and aligned
Gear systems work best when they mesh fully but not tightly. If a crank feels hard to turn, stop. Common causes: wrong gear size, offset beam, or connector placed one hole off.
Balance the boom assembly
Support the boom on the table while assembling. Check hinge points, verify pin type, test lift angle slowly, and inspect the winch line path if included.
Common Mistakes and How to Avoid Them
Whether you are working with plastic model kits, modular architecture, or crane mechanics, the same build issues appear again and again.
Opening all bags at once
Part overload, lost pieces, slower progress
Fix: Open only the bags needed for the current manual section
Ignoring mirrored builds
Left and right sides do not match, top sections fail to connect
Fix: Build paired sections side by side and compare before attaching
Forcing a connection
Bent sub-assembly, hidden error locked inside
Fix: If a section does not fit, step back two or three instructions and verify orientation
Skipping function tests
Finished crane with stuck mechanism, major rebuild required
Fix: Test every gear or moving arm before covering it
Handling finished details too much
Repeated small part loss, scratched display
Fix: Hold modular builds from the structural base, not the decorative edges
Windmills vs. Cranes: Which Build Style Fits You?
Both are strong adult builds. The right choice depends on what you enjoy most about the hobby.
Choose Reobrix windmills modular buildings if you enjoy:
- Architectural detail
- Scene-building
- Shelf display value
- Layered structure
- Calm, steady assembly
Choose Technic crane building blocks if you enjoy:
- Moving parts
- Engineering logic
- Testing functions
- Mechanical troubleshooting
- Interactive display pieces
Choose both if you want:
Visual variety, a broader skill set, architecture plus mechanics, and more interesting display shelves. Alternating between the two keeps the hobby fresh. A windmill set can feel relaxing after a gear-heavy crane. A crane can feel rewarding after a decorative modular build.
A Smart Build Routine for Better Results Every Time
Here is a practical 10-step method you can use on almost any set. It works especially well for Reobrix windmills modular buildings and Technic crane building blocks, because both have sections that become harder to fix later.
Clear your table
Preview the manual
Sort major part groups
Open only the needed bags
Build one sub-assembly at a time
Compare mirrored sections early
Test moving parts before closing them in
Hold the model by strong structural points
Save fragile decoration for late-stage installation
Do a final alignment pass before display
How to Make Your Finished Model Look Better on Display
A good model can look great with a few simple finishing habits. After the build is done, straighten tiles, level roof lines, adjust signs and rails, center moving blades, and square the crane boom. These small corrections make a big difference.
For windmills
- Angle the blades for a dynamic display
- Place the front side toward light
- Keep surrounding accessories balanced
For cranes
- Raise the boom slightly
- Turn the cab if it rotates
- Place outriggers evenly if included
For all builds
- Use a soft makeup brush for dust
- Keep away from direct sunlight
- Low-pressure air blower for crevices
Ready to find your next Reobrix or Technic-style build?
Browse the full collection at Morebybourn and order directly via WhatsApp for fast, personal service.
Browse All SetsFrequently Asked Questions
Are Reobrix windmill sets good for beginners?
Some are, but many are better for intermediate builders. Reobrix windmills modular buildings often include layered structure, decorative parts, and moving elements, so patience helps. If you are new, choose a smaller set first and build slowly.
What is the biggest mistake people make with Technic crane sets?
The most common mistake is not testing functions during the build. With Technic crane building blocks, one wrong axle or gear placement can affect the whole model. Test each mechanism as soon as it is assembled.
How should I organize pieces for large plastic model kits?
Sort by function, not by every single part type. Separate structural bricks, plates, tiles, gears, axles, and pins first. That gives you speed without creating too many sorting trays.
Why does my windmill blade assembly feel uneven?
Usually the cause is one of three things: an off-center axle, mismatched blade arm assembly, or a decorative part blocking rotation. Check symmetry first, then test the mechanism before reinstalling the full front assembly.
How do I keep finished models clean on display?
Use a soft brush for dust, avoid direct sunlight, and hold the model only by strong structural areas when moving it. For cranes, support the chassis. For modular buildings, support the base rather than the roof or trim.