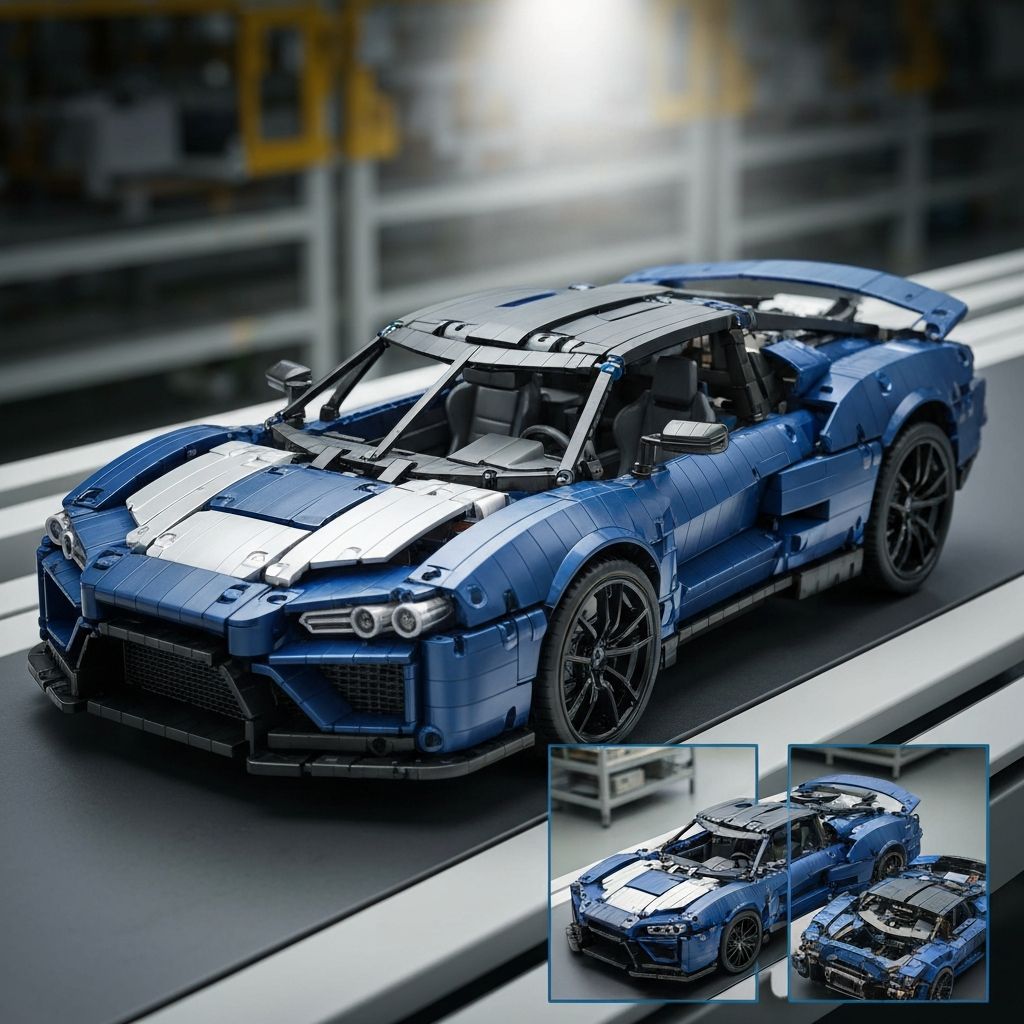
The Guly Porsche 918 is a massive 1:8 scale supercar model. It demands focus, organization, and a solid understanding of Technic-style mechanical assemblies. Adult collectors and engineers choose this model for its intricate gearbox, working suspension, and accurate body lines.
This guide covers everything required to construct the model efficiently — workspace setup, four assembly phases, and long-term display guidelines. Follow each step to avoid rebuilding complex gear trains later. Browse our full range of Top Building Block Brands for more premium supercar options.
Preparing the Workspace and Tools
Large sets require organization. Do not open all bags at once. The Guly Porsche 918 parts come in numbered bags corresponding to the instruction manual phases.
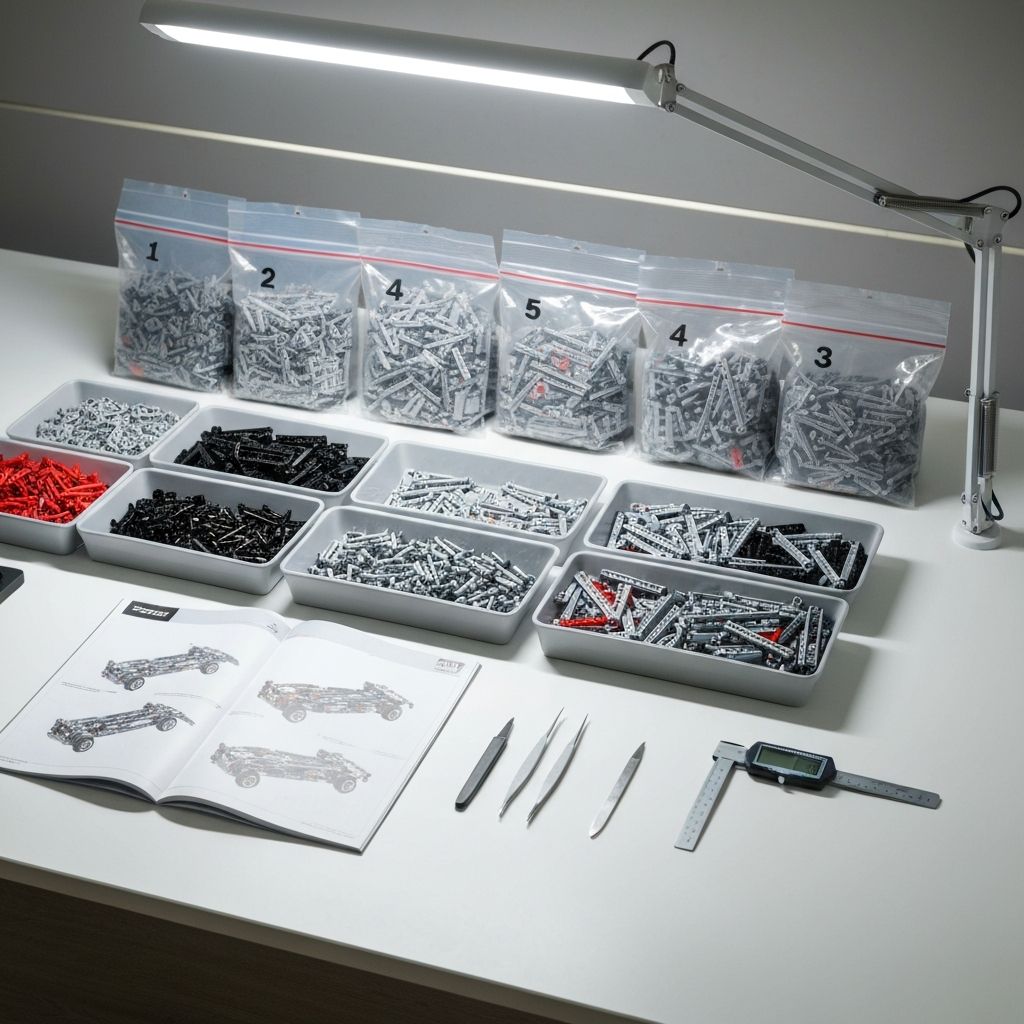
A well-organized workspace is the single biggest factor in a successful large-scale Technic build.
Workspace Setup
- Table Size: Minimum 48 × 24 inches
- Lighting: Overhead LED — avoid shadows on small axles
- Containers: Shallow plastic trays sorted by color and size
- Seating: Ergonomic chair — this build takes many hours
Essential Tools
- Brick Separator: Included in the box — essential for mis-placed plates
- Tweezers: Needle-nose for decals and tight pin placements
- Digital Calipers: Distinguish size-5 vs size-7 axles accurately
- Rubber Mallet: Small — tap stubborn axle pins without cracking ABS
Step-by-Step Assembly Guide
The construction breaks into four main phases. Read the full manual before connecting any parts. Check gear alignments twice. For more Technic build strategies, see our Reobrix V12 Engine build guide.
Phase 01: Chassis and Suspension
- 1Connect the main structural beams — ensure all friction pins click securely.
- 2Build the double-wishbone front suspension. Test shock absorbers for smooth compression.
- 3Assemble rear control arms and attach the heavy-duty springs.
- 4Connect the steering wheel axle to the front wheels. Verify left/right movement without binding.
- 5Lay out the central driveshaft and check differential gears for free rotation.
Expert Tip
Mistakes in the chassis will cascade into broken functions later. Build slowly and test each sub-assembly before moving on.
Phase 02: Engine and Gearbox
- 1Slide pistons onto the crankshaft exactly as shown in the manual.
- 2Build the engine housing and insert the crankshaft. Turn the main gear to verify piston movement.
- 3Construct the transmission frame.
- 4Install gear selector rings onto axles — red gears in center, grey gears on the outside.
- 5Connect the engine and gearbox to the chassis. Spinning the rear wheels should move all pistons.
Expert Tip
Color-code your gears before installation. Mixing up similar-looking gear rings at this stage is the most common rebuild mistake.
Phase 03: Interior
- 1Build the racing seats and attach to the floor pan.
- 2Apply instrument cluster decals using needle-nose tweezers for accuracy.
- 3Install the gear shifter and center console control panels.
- 4Construct door hinges, attach to chassis, and test full opening angle.
- 5Connect the structural roll cage bars behind the seats.
Expert Tip
Apply all decals before connecting the dashboard to the chassis — working inside a fully assembled car body makes accurate placement nearly impossible.
Phase 04: Bodywork and Panels
- 1Attach rear fenders — ensure panel gaps are even on both sides.
- 2Build the vented engine cover and test open/close clearance above the V8.
- 3Construct the hood and headlight assembly.
- 4Assemble exterior door panels and attach to Phase 3 hinges.
- 5Push rubber tires onto rims and check fender clearance on all four wheels.
Expert Tip
Do not force panels into place. Uneven panel gaps almost always signal a misalignment in the chassis from Phase 1 that must be corrected before proceeding.
Advanced Building Tips and Maintenance
Display and Long-Term Protection
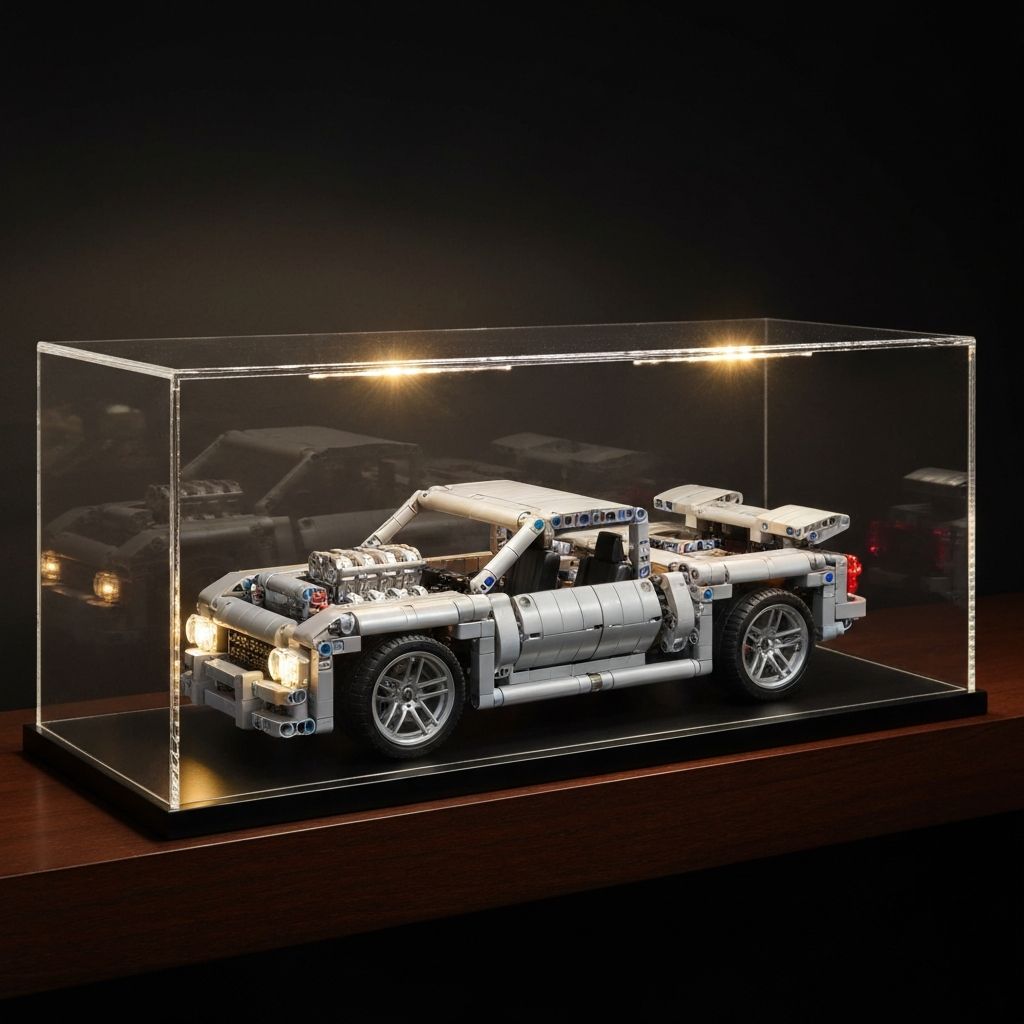
A dust-proof acrylic case with LED lighting is the ideal long-term display solution for large supercar models.
Acrylic Case
Use a dust-proof acrylic display case. Protects ABS plastic from dust buildup and casual contact damage.
UV Protection
Keep the model away from direct sunlight. UV exposure causes white and grey pieces to yellow irreversibly over time.
Tire Care
Rotate tires every few months. Heavy models can create flat spots on rubber tires under sustained static weight.
Why Choose MOREBYBOURN
Builders need reliable parts. MOREBYBOURN provides top-tier alternatives for adult collectors and STEM educators.
Premium Quality
High-grade ABS plastic. ±0.01 mm stud tolerance. Strong clutch power on every single stud.
100% Compatible
Mix and match with major brand bricks seamlessly. Expand your existing Technic collection.
Fast Delivery
US-based warehouses. 3–5 day shipping with full order tracking.
Real Support
Missing pieces guarantee. We replace missing or broken pieces FREE — no questions asked.
Find your next project in our premium building blocks catalog. We pay the shipping fees so you do not have to. Check out our Top Building Block Brands guides for exclusive sets and limited stock items.