How to Master Advanced MOC Builds: Large Scale Building Blocks, RC Tank Building Set, V12 Engine Building Set
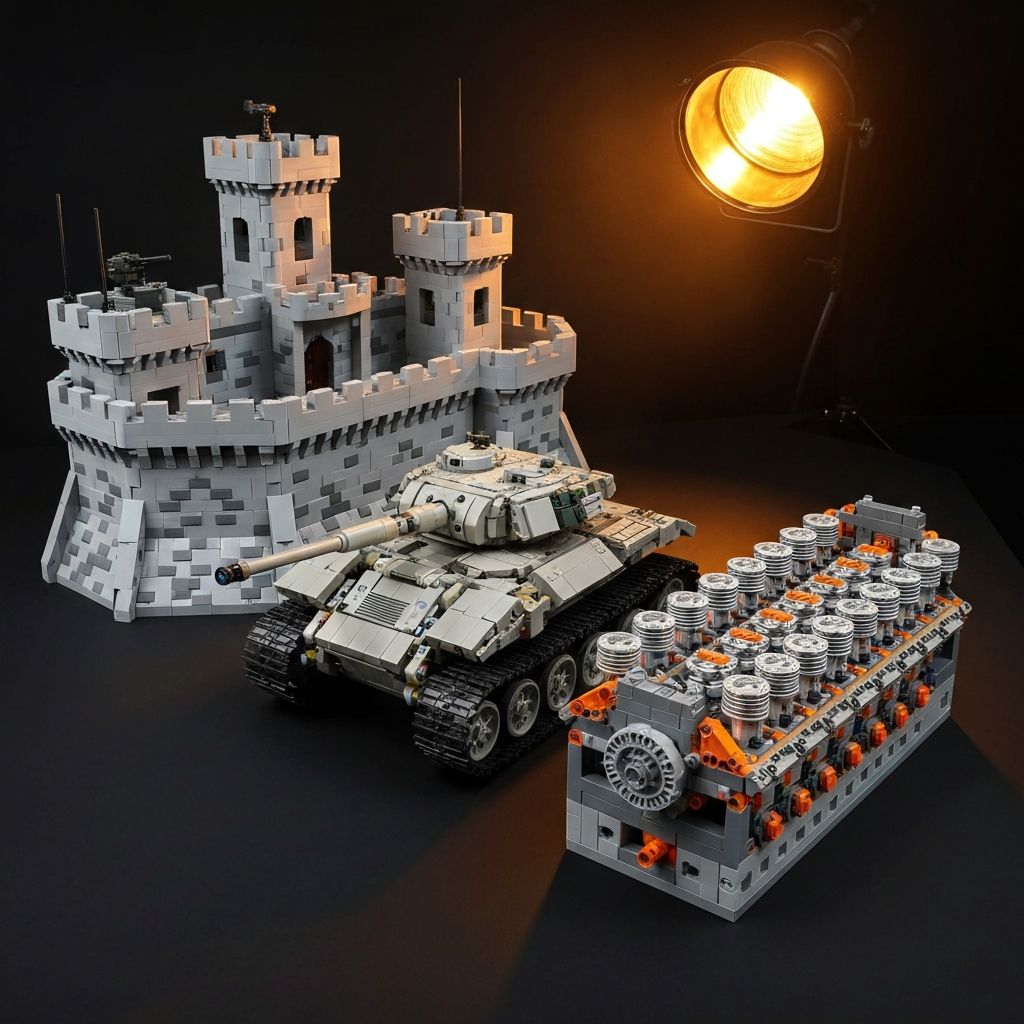
Advanced block builds demand preparation. 4,000+ piece sets require systematic sorting, precise gear meshing, and structural reinforcement. Moving from standard retail kits to complex MOCs or massive third-party designs means adopting builder protocols. This manual provides functional, step-by-step specifications for executing high-piece-count models — whether you are assembling static architecture or motorized drivetrain systems.
60cm+ footprint, Technic internal bracing, plate seam overlap required
Independent L/R drive, XL-motors, symmetrical suspension, track tensioning
Crankshaft timing, 12-piston sync, zero-friction assembly tolerance
1. Select Framework and Specifications
Match your build category to your workspace and technical experience. High-piece-count models fall into distinct operational categories.
These require footprint planning. Large scale building blocks setups often exceed 60cm in base dimensions. Verify shelf depth and weight ratings before beginning. Structural integrity relies on overlapping plate seams and internal Technic bracing.
Treaded vehicles demand high torque. An RC tank building set requires symmetrical suspension alignment and precise track tensioning to prevent thrown treads during pivot turns. XL-motors paired with heavy-duty gearboxes are standard.
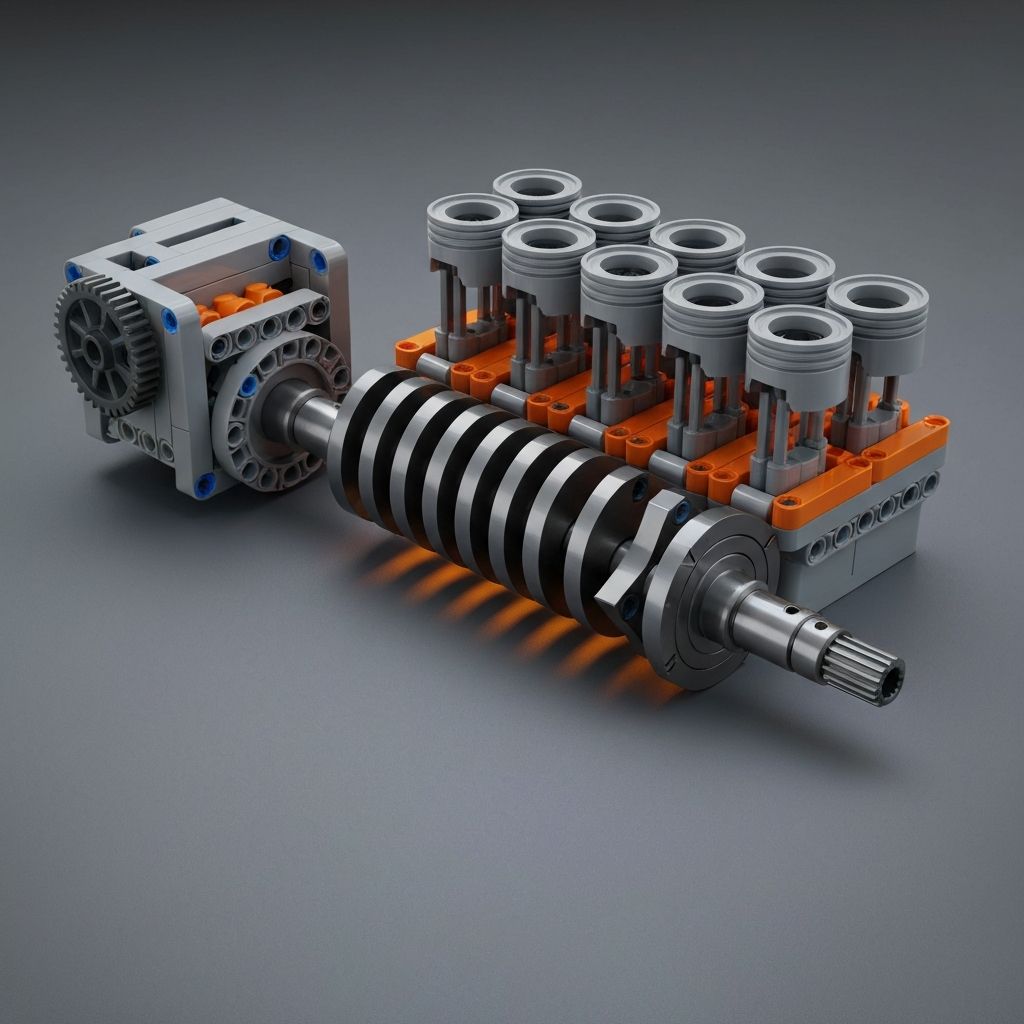
Internal combustion models require low-friction assemblies. A V12 engine building set functions as a timing exercise. Crankshaft alignment and piston phase timing must be exact, or internal friction will stall the drive motor.
Browse all technical and motorized models at Morebybourn Products.
2. Workspace Preparation and Parts Management
Never sort by color. Finding a black 2L axle in a bin of black plates is inefficient. Sort by part category using compartmentalized tackle boxes or hardware organizers.
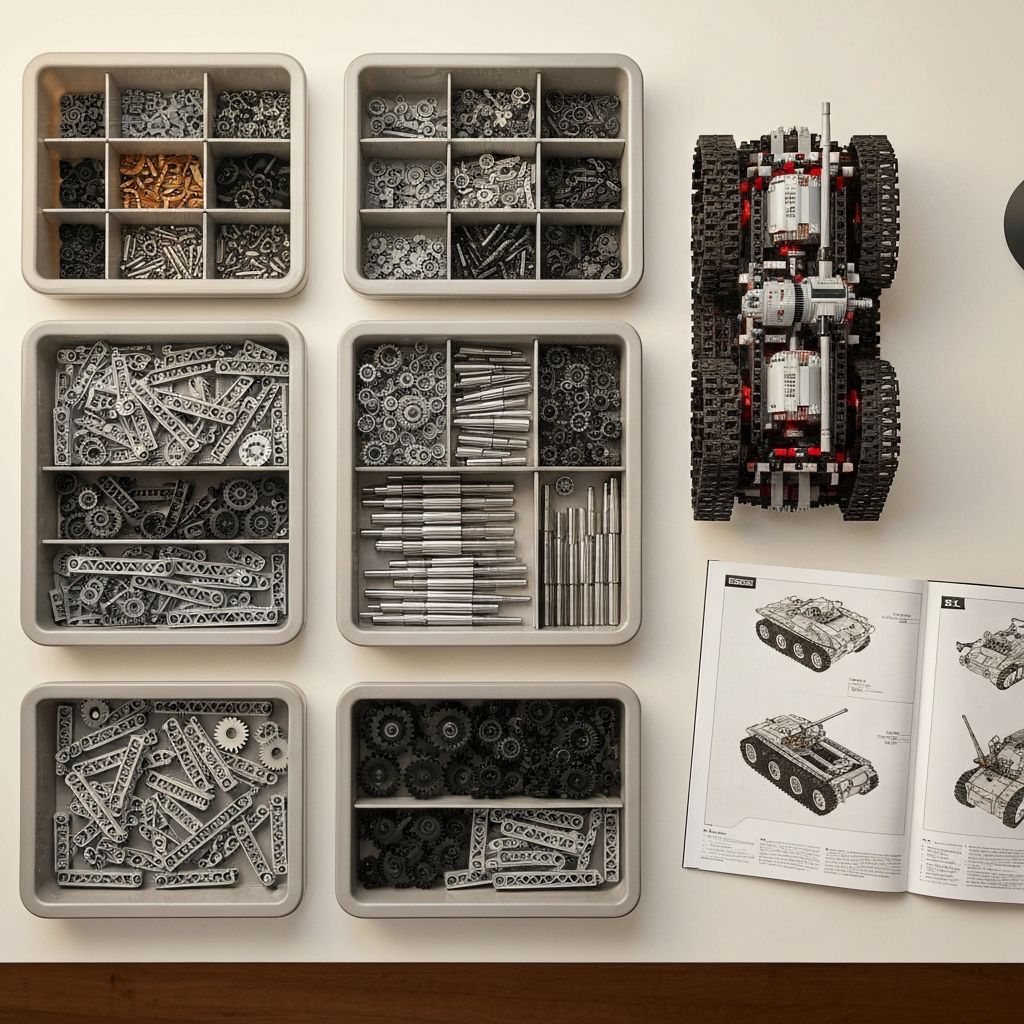
Connectors, axles by length, gears by type, Technic beams by hole count, plates and tiles each in separate compartments.
Minimum 120cm × 60cm flat surface. Use a high-contrast light gray or pale blue mat to prevent part camouflage.
Verify bag numbers against the manual index. Log any missing bag stage numbers immediately and contact support.
3. Executing Mechanical Builds: Gears and Motors
Mechanical failure at stage 800 requires total disassembly. Test mechanisms continuously during the build process. When inserting axles through multiple Technic bricks or beams, leave 0.5mm of clearance between the gear base and the beam — squeezing parts tightly binds the rotation.
- Build the left gearbox and motor housing first.
- Test rotation with a standalone battery box before sealing the chassis.
- Listen for clicking — indicates a misaligned bevel gear or skipping teeth under load.
- Duplicate for the right side. Ensure both XL-motors rotate in the correct direction relative to the receiver polarity.
- Assemble the central crankshaft on a flat surface and roll it — it must roll perfectly straight.
- Lubrication is unnecessary if built correctly.
- Install pistons into cylinder blocks one bank at a time.
- Manually rotate the drive gear after every 4 pistons installed. Resistance spikes mean a connecting rod is installed backward.
4. Structural Integrity for Massive Sets
Gravity affects large scale building blocks differently than smaller models. Sets exceeding 3,000 pieces require specific load-bearing techniques to prevent sagging and structural failure.
Do not stack bricks in straight vertical columns. Interlock seams like standard masonry. For internal frameworks, box girders — four Technic beams connected by perpendicular pins — offer maximum rigidity with minimum weight.
Large open panels such as starship hulls or architectural roofs will sag. Install diagonal liftarms across internal frames. Triangles distribute weight efficiently across the chassis.
Heavy vehicles compress standard shock absorbers. If building a massive off-road chassis, double the shock absorbers on the rear axles to handle the weight of lithium battery boxes and PF receivers.
5. Electronics and Wiring Cable Management
Pinch points sever wires. Route cables with precision through hollow Technic liftarm channels or between studded brick layers. Never run a cable directly across a moving gear or rotating axle.
Run cables through hollow Technic liftarm channels or between studded brick layers.
Wrap excess cable around a 2×2 round brick or secure with rubber bands to prevent drivetrain entanglement.
IR receivers require line-of-sight. Mount flush with exterior armor. 2.4GHz receivers can be embedded deep but keep power toggles accessible.
6. Troubleshooting Common MOC Errors
For replacement motors and upgraded electronic components, verify compatibility at Morebybourn Support.
7. Maintenance, Display, and Preservation
Protect your investment. 5,000+ piece models are permanent display fixtures. Improper storage or exposure will degrade ABS plastic and clutch power over time.
Display models away from direct sunlight. White and light gray bricks yellow within six months. Use UV-blocking film on display cases or blackout curtains.
Use anti-static makeup brushes, short bursts of canned compressed air, or USB keyboard vacuums with brush attachments. Never use damp rags.
If disassembling, reverse the build manual and sort immediately. Avoid attics or sheds — temperature fluctuations cause clutch power failure and plastic brittleness.
Quick Reference: Do and Don't
- ✓Sort parts by geometry before starting
- ✓Test gearboxes at every major assembly stage
- ✓Use box girder bracing on vertical structures over 30cm
- ✓Route cables through hollow liftarm channels
- ✓Verify crankshaft straightness by rolling on a flat surface
- ✓Display away from direct UV windows
- ✗Sort by color — part shape is what matters
- ✗Seal the chassis before testing drive motors
- ✗Stack bricks in straight vertical columns without overlapping seams
- ✗Run cables across rotating axles or gears
- ✗Force-fit a bowed crankshaft — it will stall the motor
- ✗Store large assembled models in attics or sheds
Browse all large scale building blocks, RC tank building sets, and V12 engine building sets — with free missing piece replacement on every order.
Order via WhatsAppFrequently Asked Questions
Are power functions and motors included in the kits?▾
Specifications vary by item. Motorized sets clearly designate 'Dynamic Version' or list exact PF components (XL-Motors, Servo Motors, Lithium Battery Boxes) in the product details. Static 'Standard Versions' do not include electronics. Check the specific SKU before checkout.
What do I do if I find a missing piece during a 4000+ piece build?▾
We replace FREE missing or broken pieces to all orders. Circle the missing part in your manual, note the required quantity, and submit the part number via our support portal. We ship replacements directly to you with no additional charges.
Do third-party building blocks connect with major brand bricks?▾
Yes. All sets utilize standard building block dimensions. Elements from a V12 engine building set or an RC tank building set are 100% compatible with legacy brick systems, allowing for seamless integration and custom modifications.
How long does shipping take for large scale building blocks?▾
LIMITED STOCK items ship within 48 hours. Standard fulfillment takes 7–12 business days depending on regional customs clearance. We pay these fees so you don't have to. The total billed at checkout is the final amount you pay, inclusive of Tax/tariff.
How do I prevent ABS plastic from yellowing on large display models?▾
Display models away from direct UV light. White and light gray bricks will yellow within six months of direct window exposure. Use UV-blocking film on display cases or position in rooms with blackout curtains.